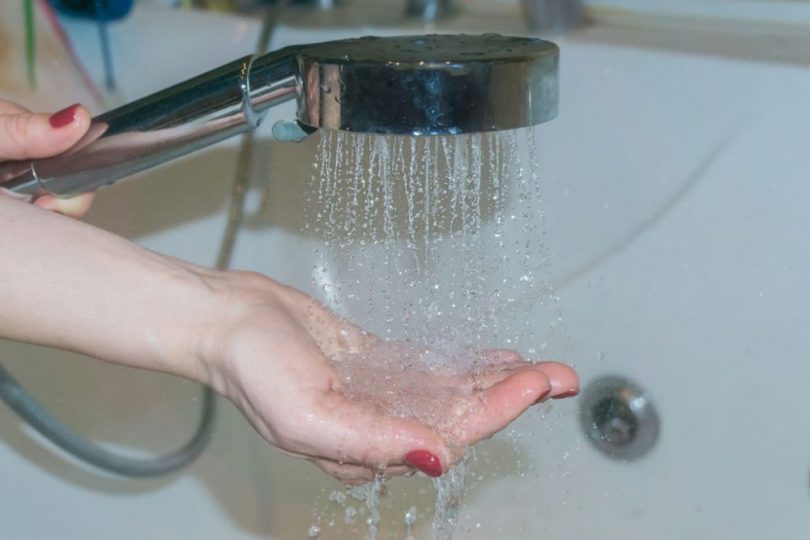
Handheld shower heads have many benefits. They transform your shower into a spa. In addition, they let you focus the water string on certain points of your body. Best of all, they increase the aesthetic value of your bathroom, adding a slight touch of luxury and elegance.
There are a wide variety of different shower heads on the market. Depending on your requirements, you can always find a suitable model for you. And you don’t need to spend a fortune to take a new handheld shower head home.
Installing these devices is easier than you think. So, you don’t need to hire a professional plumber to get the job done. Today we’ll show you how to install a handheld shower head like a pro.
Handheld Shower Head Installation
1. Gather the necessary tools and materials
- Dry cloth
- Hex key
- Adjustable wrench
- Teflon tape
- Installation kit
- Shower diverter
2. Remove your rusty shower head
To remove your old shower head, wrap the connecting nut and the shower arm with a dry cloth. This will prevent scratches on the shower arm surface. Grab the connecting nut with the adjustable wrench. Then, rotate counterclockwise to remove the shower head.
If the shower head is stuck, there’s probably rust and limescale on the thread. To solve the problem, apply rust remover or silicone spray on the thread. Wait several minutes for the product to take effect.
3. Clean the shower arm
After removing the shower head, clean the thread of the shower arm. To do this, apply rust remover, wait several minutes and scrub the thread with a hard-bristle brush. Finally, use a dry cloth to remove the gunk.
After that, wrap the shower arm with Teflon tape counterclockwise. This way the tape won’t come off the thread when screwing the shower head.
4. Install the hose and the shower head
All handheld shower heads come with a flexible hose made of metal or plastic. To install, screw one end of the hose on the shower arm. Then, wrap the connecting nut with a dry cloth and apply extra pressure with the wrench.
After that, wrap the thread at the other end of the hose with Teflon tape clockwise. Finally, screw the shower head on the free end of the hose. In this case, it isn’t recommended to apply too much pressure on the thread.
5. Make sure there’s no water leaks
After installing the shower head, turn the water on and check there are no water leaks. If you find them, unscrew the shower head or the hose. Then apply more Teflon tape and more pressure on the thread to fix the problem.
6. Install the diverter valve
If you want to use the hand-held and the fixed rain shower head at the same time, you’ll need to install a cross-T diverter fitting. This gadget deviates the water flow into two directions, to supply the handheld shower head or the fixed shower head.
To install it you just need to screw it on the shower arm. Then, wrap it with a dry cloth and apply extra pressure with the wrench. After that, apply Teflon tape on its two output threads clockwise. Finally, install the fixed shower head on one thread and the flexible hose on the other. Apply additional pressure with the wrench if it’s necessary.
If you only have a tub spout in your bathroom, you can also install a handheld shower head by adding a new tub spout diverter. To install one, unscrew your existing tub spout. Then screw the new diverter and connect the tub spout and the hand shower head to each one of its outputs.
Installation tips
- Before getting down to work, make sure to have all the required tools and materials at hand to get the best results.
- Make sure to cut the water supply of the bathroom before getting started. This will prevent a possible flood in your bathroom in case of breaking a pipe or connection.
- Take a look at the user manual of your new handheld shower head before beginning the installation. Some models have a different installation process than indicated in this guide.
- If the old shower head is stuck in the shower arm, don’t apply too much force with the wrench. If the element is rusted, it will break very easily. It’s better to use rust remover and mineral lubricants to solve the problem.
- If you notice water leaks after finishing the installation, unscrew the hose or the shower head, apply more Teflon tape and reinstall.
Summary
As you can see, installing a new handheld shower head is a piece of cake. You don’t need fancy tools or someone else’s help to do it. Usually, the installation process is similar in all cases. However, it may have some variations on certain models.
If you carefully follow each of the tips in this installation guide, you’ll be able to install any handheld showerhead like a pro.


Leave a Comment