
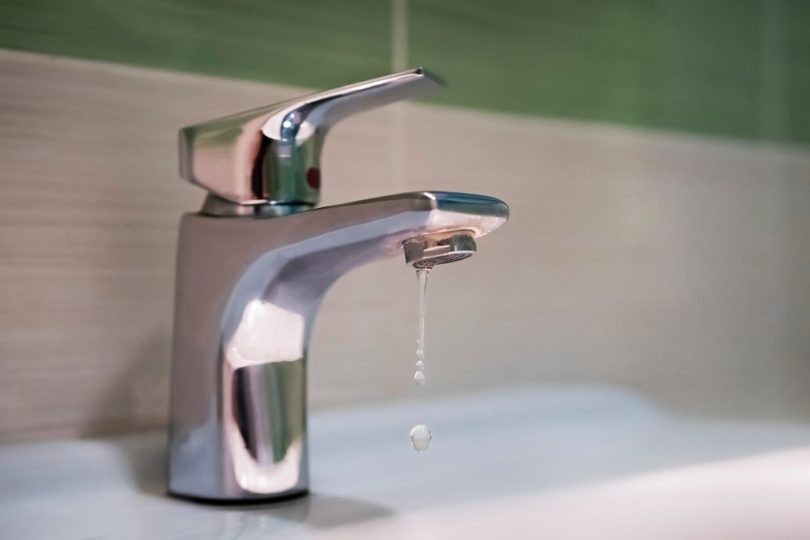
Leaks are a sure-fire way to make your water bills skyrocket along with your frustration. Drips are common but easy to fix.
Here we’ll be showing how to fix a dripping tub spout yourself so you can save on your plumbing cost!
What Causes Dripping in Tub Spouts
Tub spouts can fail in a few different ways. Each cause can be checked quickly.
- The spout diverter spigot is the part the water comes out of. Over time, the seal will wear down, eventually breaking. This may cause water to leak from the spigot
- The inner threads of the spout can corrode or crack
- If you haven’t changed the caulking of the spout in a long time, chances are it has started to wear and crack, causing leaks from the spout
Tools needed
- Faucet repair kit – These kits come with an assortment of bolts, washers, and nuts that fit onto faucet parts
- Adjustable wrench – This is to remove the bolts holding the spout
- Two screwdrivers – You’ll need both a Philips and Flathead screwdriver. Some of the screws may not match. If you have a multi-bit screwdriver, then you’ll only need one
- Handle puller – You’ll need to remove the handles of the spout to work properly. This tool allows safe removal
- Utility knife – Use this to cut away any old caulk
Materials required
- Plumber’s grease – Specifically made to use for sinks and tubs, this grease is silicone-based and waterproof
- Steam valve repair parts – You may have to replace the valve if that’s the source of your leak. It’s best to have it on hand if you need it
- Necessary parts for tub spout – This includes a faucet stem and a handle. You can find these at any home repair store
How to Fix a Dripping Tub Spout?
Step 1: Turn off the water
Find the primary water valve in your home and turn it off. You can also shut off the valves in the bathroom if you can’t access your primary valve.
After you’ve turned the water off, turn on the tub faucet and let the excess water drain.
Step 2: Remove the faucet handle
Grab your screwdriver and loosen the screws in the central handle.
Use the handle puller to detach the handle. Be very gentle when you do this. The mineral build-up is common, especially in older faucets and you may rip parts of the wall off if you’re not careful.
If you don’t have a handle puller, you can pour some hot water on the edge of the handle and pull it off with your hands.
Step 3: Assess the damage
You can now see all of the parts that drips can come from. Look at each one carefully to decide which part needs to be replaced.
- The most common cause of leaks is an old washer. Check the washer for any damage or signs of wear. If it’s misshapen or broken, it needs to be replaced. It may be a good idea to replace it anyway for preventative measures
- Next, check the handle of the spout. After a lot of use, faucets will rust and crack. Old handles may not close the valves fully, letting water leak out
- The last thing to check is the valve stem. The stem blocks and allows the water from the source to the faucet. If you have a worn or faulty stem, water will still flow into the spout, even if the handle is off
Step 4: Replace the handle
You will need to remove the handle to access the other parts of the tub spout, so it’s best to start here.
- Take the utility knife and pry off the decorative cap of the handle
- Get your screwdriver and remove the screws holding the bolt in place. Hold the other side of the bolt with your free hand so nothing falls on you
- Next, remove the screws holding the faceplate on the tub
- Place the new rubber gasket onto the wall, then install the new (or old) faceplate back on the wall
- Secure the new handle onto the faceplate, then place the cap on
Step 5: Replace the washer
If you’ve determined that the washer needs to be replaced, follow these steps.
- Remove the seat washer from the stem. This part is made of rubber and sits on top of the valve stem, so it should be easy to spot
- Use a screwdriver to loosen the screw holding the washer in place
- Take out the old washer and put in the new one
- Re-tighten the screw
Step 6: Replace the spout seat
The spout seat holds the washer in place. It’s important to check the seat for damage when you are replacing the washer. A damaged seat will cause corrosion on the washer, making all the work you did to replace the washer a waste.
You can replace the spout seat while you are replacing the washer, so the steps are the same.
Step 7: Replace the spout stem
The next part you need to replace is the valve stem. To replace the stem, do the following.
- Clean any rust, caulk, or mineral build-up with the utility knife
- Take the adjustable wrench and loosen the bolts holding the stem in place
- Replace the old stem with the new one
- Tighten everything back up
Step 8: Replace the spout
This last part requires a bit more work and some more materials. You will need fresh caulk, some thread-sealing tape, and a pipe wrench in addition to your other tools.
- Remove any caulk between the spout and the wall using the utility knife
- Take the pipe wrench and remove the spout from the wall stub
- Clean the threads thoroughly
- Wrap the four threads in the thread-sealing tape
- Apply fresh caulk around the wall stub. Make sure it only covers the area the spout will go
- Take the threads and carefully install the new spout
- Wipe away any excess caulk, then let it dry at least overnight
Step 9: Put it all back together
- Place the stem, then tighten it with the adjustable wrench
- Install the new handle by screwing it in tightly
- Place the decorative cap back on the handle
Step 10: Turn on the water supply and test
To see if your replacement parts have fixed the dripping tub spout, turn your water back and test the spout by turning it on and off. Once off, there shouldn’t be any dripping.
FAQs
1. How much does it cost to fix dripping spouts?
Ans. For all of the parts needed, it will come to around $30. The average rate for a plumber is $150 per hour. Going DIY saves a lot of money!

Leave a Comment