Commonly, toilets are mounted on the floor. In these cases, the waste pipe runs through the floor, while the water supply pipe comes from the wall. Without a doubt, a floor toilet has many benefits. However, it also has its cons.
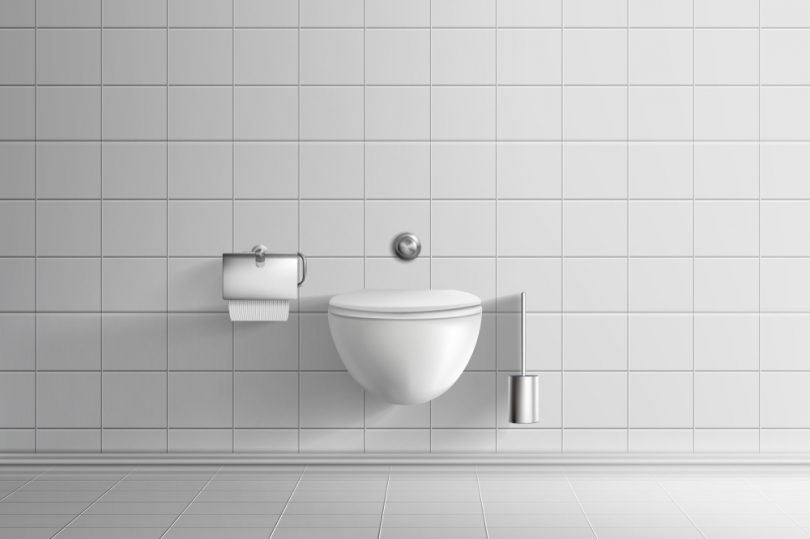
For example, they tend to accumulate gunk on the grout joints in contact with the floor. However, that wouldn’t happen with wall mount toilets. They don’t touch the floor, because they’re completely supported on the wall.
So, if you’re tired of cleaning those dirty floor joints, you should replace your old toilets with wall-mounted units. Today, we’ve prepared a step-by-step guide to show you how to install a wall mount toilet like a pro.
DIY Wall Mount Toilet Installation: Step-by-Step
1. The prep work
Before beginning the installation, you need to turn off the water supply. Then, uninstall your old toilet. To do this, first drain the tank and remove the toilet connector.
Now break the grout joint that sticks the toilet to the floor using a hammer and a chisel. After that, you’ll need to relocate the waste pipe. Finally, seal the hole on the floor.
2. Assemble the mounting frame
After that, assemble the frame where the toilet tank will be mounted. To do this, join the bars that form the frame as explained in the user manual. Then, install the mounting brackets and the flush pipe of the tank. Finally, mount the tank on the frame.
Use a small torque wrench to fix all the fasteners in place. Then, insert the metal feet of the frame and the plastic clamp to secure the waste pipe.
3. Mark the wall and the floor
First of all, draw a vertical line of 1.08 m on the wall starting from the ground. The line should coincide with the midpoint of the waste pipe.
Draw perpendicular lines on the first line at 1m (second line) and 1.08m (third line). Then, make two marks on the third line, 235 mm to the right and left of the vertical line.
Place the frame in place, so that the 90-degree elbow of the waste pipe is inserted into the plastic clamp. Make a mark on each point where the mounting holes of the frame touch the floor. Then, detach the mounting frame.
Before proceeding to the next step, verify there’s a minimum gap of 230 mm between the frame and the wall.
4. Install the mounting frame
Drill holes on the wall and floor marks with a 10-mm drill bit. Then, insert plastic anchors inside the holes.
Locate the mounting frame in place, with its metal feet supported on the floor. Fix the frame to the floor with screws.
Join the top of the frame and the mounting brackets with a threaded bar. Then, fix the mounting brackets to the wall with screws.
Finally, turn the threaded bar to correct the vertical alignment of the frame. Use a bubble level while doing this.
5. Install the flush mechanism
Remove the red plastic handle from the tank. Then, remove the plastic lid that covers the water connections.
Install a stop valve on the water output coming out the wall. The stop valve output should be pointing to the right. Make sure to apply enough Teflon tape to the thread to prevent leaks.
Install a flexible hose on the output of the stop valve. Then, make sure the stop valve is closed. Turn on the water supply of the bathroom and check there are no water leaks.
Put the free end of the hose inside a bucket and open the stop valve to verify the water pressure. Close the valve.
After that, connect the free end of the hose to the water input thread of the flush mechanism. Finally, install the inspection shaft.
The trouble is if the flushing mechanism malfunction s in the future for such toilet systems, you’ll need to open up the wall to repair it with a kit.
6. Install the drywall
Cover the front, sides and top of the mounting frame with drywall. Make sure to cut the drywall where the fittings of the toilet will be installed.
7. Install the toilet bowl
First, join the flush pipe with its seal. Then, insert the flush pipe into the toilet bowl. Mark the pipe on the point where it protrudes the bowl.
After that, insert the flush pipe into the flush unit. Mark the flush pipe on the point where it protrudes the flush unit.
Measure the length from the edge of the pipe to each mark. Then sum both lengths and add 5 extra millimeters. Cut the flush pipe to that length.
Use a piece of sandpaper to smooth the borders of the pipe. Finally, insert the flush pipe into the flush unit.
Screw the threaded rods that support the toilet bowl to the mounting frame. They should protrude 6 cm from the frame. Finally, install the toilet bowl, inserting the threaded rods through the mounting holes.
Use washers and nuts to fix the toilet in position. Verify the top of the bowl is completely horizontal using a bubble level.
8. Install the flush plate
Use a utility knife to cut the plastic cover of the flush plate. Install the mounting bracket of the flush plate on the drywall. Install the air button on the plate and then connect it to the blue hose of the flush unit.
Finally, open the stop valve and install the flush plate on its mounting bracket.
9. Final steps
Push the air button to verify the operation of the toilet. If everything is fine, fill the edges of the bowl with silicone sealant. Finally, install the toilet seal.
Conclusion
As you can see, wall mount toilets are an excellent alternative to regular toilets. They’re very easy to clean and don’t accumulate too much gunk.
Certainly, installing them isn’t that easy. However, if you carefully follow our instructions, on how to install a wall mount toilet, you have nothing to worry about.
FAQs
Q. 1: Why should I install a wall hung toilet?
Ans: Wall mount toilets are elegant, compact and easy to clean. Also, they don’t leave dirty marks on the floor like regular toilets.
Q. 2: What is the installation cost of wall mount toilets?
Ans: The average installation cost of wall mount toilets is $600-$700.
Q. 3: Are Saniflo toilets smelly?
Ans: If the toilet is well-ventilated, it shouldn’t generate odor. If your Saniflo toilet is smelly, remember that something isn’t working well.
Q. 4: What is the average service life of a macerator toilet?
Ans: These devices usually have an average service life of 10 years. However, they can last a lifetime with proper use.


Leave a Comment