
Without a doubt, the shower floor is one of the most difficult areas to clean in a bathroom. Mold, mildew, soap scum, and other debris tend to accumulate in the pores of the shower floor. For that reason, the stains in this area are particularly stubborn.
No matter how hard you try, there are always remaining residues of dirt on the shower floor that contribute to the formation of new stains. So, using soap and water might not be enough to get rid of those ugly stains.
If you’re tired of scrubbing your shower floors over and over again without getting good results, it may be time to learn new cleaning methods. Here you’ll find some pro-backed shower floor cleaning tips.
How to Clean a Shower Floor? | Step-by-Step
1. Choose the Right Tools and Materials
Cleaning a shower floor is certainly not an easy task. However, using the right cleaning tools and materials can make things much easier. Below, you’ll find a list with everything you need:
- Broom
- Squeegee
- Microfiber cloth
- Hard bristle brush
- Toothbrush
- Baking soda
- White vinegar
- Chlorine cleaner
2. Keep the Floor Dry
Mold and mildew need water to survive. Therefore, wet surfaces are a perfect breeding ground for these microorganisms. If the shower pan floor stays wet for a long time, horrible dark spots will start to appear on the surface.
For this reason, it’s recommended to dry the shower floor with a microfiber cloth after each use. Also, leave the windows open to allow the water vapor to escape and not condense on the surface.
3. Remove All Debris on the Surface
Every time you take a shower, soap scum and dead skin residue build up on the surface. Pathogens feed on these residues and then proliferate. When these residues dry, they adhere to the surface and stains are much more difficult to remove.
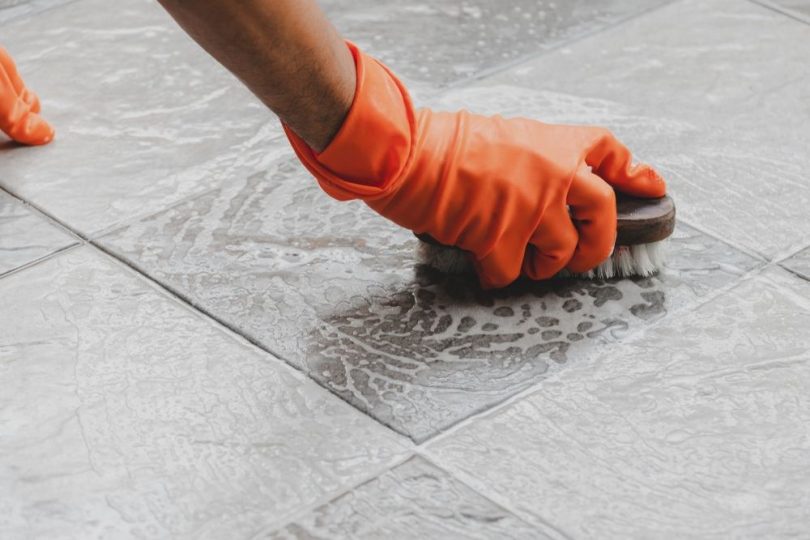
If this happens, sprinkle baking soda and then spray white vinegar all over the surface. Then, scrub with a hard bristle brush to remove all the accumulated gunk.
4. Choose the Right Chemical
Some chemical cleaners are too harsh for certain floor types. You should be very careful when trying a new cleaning product for the first time.
Below, you’ll find some recommendations on what type of product to use depending on the kind of shower floor you have.
- Fiberglass floors
Fiberglass shower floors can be easily cleaned without scrubbing. The smooth surface of this material prevents the adhesion of mold, mildew, and other pathogens. To clean a fiberglass shower floor you only need detergent and chlorine.
Make sure not to use harsh chemicals and abrasive cleaning tools that can ruin the surface.
- Tile floors
To clean shower floor tile you need a scrubbing sponge and a mild cleaning product. Tile shower floors can resist a more aggressive treatment, so you can scrub with a sponge as much as you can to remove stubborn stains.
To remove those black mold stains in the joints, apply a paste made of baking soda and white vinegar. Leave the paste to take effect for several minutes and then scrub with a toothbrush. If the stain still doesn’t go away, add more paste and repeat the procedure.
- Natural stone floors
If your shower floor is made of marble or granite, it needs a professional treatment to stay clean and shiny. Natural stones have many pores and cracks on their surface where pathogens and debris tend to accumulate. If common cleaning products can’t restore the original look to the stone, it’s best to call a professional.
Professional cleaning services are very expensive, so prevention is the best way to save money. For that reason, dry your stone shower floor after each use.
5. Keep a Regular Cleaning Routine
Regular cleaning is the best cure against recurring stains. For that reason, the more times you clean your shower floors, the better. If you want the best results, clean and dry your shower floors after each use. However, if you don’t have too much time to waste, doing it at least once a week also works.
But remember, the more time you wait to clean your shower floors, the more stains will appear on the surface. So, don’t wait too long to do it or you’ll need professional help to solve the problem.
Summary
As you can see, prevention is the best solution against stains. So, make the change today and start cleaning your shower floors after each use. Your shower will certainly look better than before, and you won’t have to work so hard to remove stubborn stains.
If this is your first time using a certain cleaning product, check to see that its active components aren’t too harsh for the floor. Now that you know how to clean a shower floor, it’s your turn to put into practice what you just learned.
FAQs
Q. 1: What is the best way to clean a white shower floor?
Ans. There are many ways to do it. For example, sprinkle baking soda on the surface and then spray with white vinegar. Wait at least 20 minutes for the active ingredients to take effect. Then, scrub the surface with a hard bristle brush.
Another effective way to leave white shower floors looking like new is to apply chorine cleaner to the surface. However, you should be careful, because chorine can be too harsh for certain floor materials.
Q. 2: What is the best way to clean the bottom of a fiberglass shower?
Ans. Applying mild cleaners and scrubbing the surface with a sponge is very effective in these cases. However, if the stains don’t go away so easily, it’s better to use more concentrated chemicals.
Q. 3: What is the most effective cleaning product to remove mold stains?
Ans. Chlorine cleaners are by far the best products to remove mold stains on any surface.
Q. 4: What is the best way to keep a shower door spotless?
Ans. The best way to prevent staining on a shower door is to clean it after each use. For this purpose, apply window cleaner on the surface and then remove the excess with a squeegee. Then dry with a microfiber cloth.

Leave a Comment