
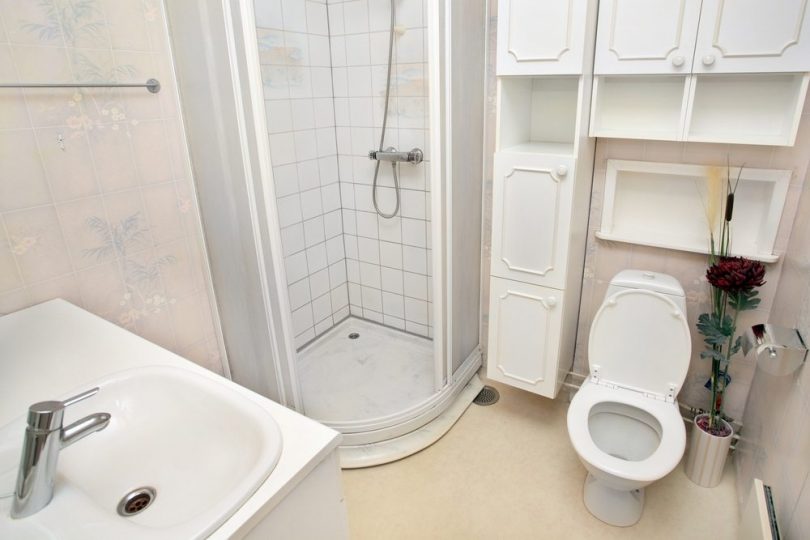
Mud or mortar shower pans are mostly hand-built with a dry pack of mortar. Shower pans make up the major part of the shower floor and, with an array of tiles on the surface, sloped directly to the shower drain.
The shower pan has two major components in its construction, with the aid of a layer or membrane waterproof on its middle. The layer in the middle is designed to redirect wastewater that runs across the surface of the floor straight to the shower drain.
A shower pan that has an embedded membrane is known to carry out to function .
- The shower pan direct wastewater straight to the drain via a sloped; this helps drain off the entire surface
- It helps to redirect water that gets across the floor of the shower back to the drain. This is done via a waterproof membrane layer that empties into the shower drain
How to Build a Shower Pan: DIY Guide
1. Things You’ll Need
Tools
- Bucket
- Impact driver
- Trowel
- Hammer
- Drill
- Safety glasses
- Dust mask
- 2′ level
- Marker
Material
- Concrete mix
- Rubber membrane
- Cement board
- Screws
- Shower drain assembly
- Floor leveling compound
- Tape
2. Frame the Box
While creating the box, you can use a 2×4 lumber; it will serve as a perfect pan to the house to the concrete you intend using. Check the thickness for the rubber membrane, the size required, and the right depth from the building codes.
You will need to flush the shower in line with the whirlpool bath, this calls for an extended frame underneath the tub overhang.
Caution: the attention of a professional handyman to help make rough the entire shower drain before carrying out the concrete installation.
Additionally, ensure the concrete floor is pre-sloped before you proceed with the installation of the waterproof liner, adhering to the following step to help prevent the formation of mildew and mold in the future.
3. Spread Out the Rubber Membrane
Extend the rubber membrane in the entire space and ensure it cover the bottom entirely; this will make it overlaps the form. Make sure you have sufficient material to help extend the wall to the appropriate height.
4. Attach the Membrane
Start from one side, make sure the membrane is flattened on the concrete or plywood floor, and then push it firmly against the base of the board. Fix the membrane on the studs using an 8″ nail underneath the form.
Aside from the hole meant for the drain, try to avoid the membrane from penetrating below 8 inches, and make sure the water shower is entirely waterproof.
5. Cut Out the Drain Hole
Cut out the drain carefully using a utility knife. While doing this, do make sure the hole is not too large. With the right-size of the hole, if water gets to the concrete, the membrane layer will channel the water to the drain.
6. Attach the Drain Plate
Now you will need to tighten the entire bolts firmly using a socket wrench to
7. Screw-in the Drain
Screw up the drain to 1- ¼ inch to create enough space for concrete. Cover up the chrome drain with a tape; this will help protect the surface when concrete is poured on it.
8. Create the Concrete Mixture
Empty a mixed concrete into the bucket until it is 1/3 full. Now, add more water to the concrete and mix it. Do this adhering to the instructions from the manufacturers and observe the changes until you have consistency in a milkshake.
You will also need to use a handle drill to carry out the mixing process properly. Remember, there are different varieties of concrete. If you are using a sandy mixed, then you expect it to dry soon with a smooth surface.
9. Pour the Concrete
Now, empty the concrete to the surface and distribute it to the entire surface using a hand trowel. Ensure the height slopes gently to about 2- ½ inches around the outside form to 1-1/4 inches close to the drain.
Once you have your wet concrete ready, strike gradually using the flat surface the hand trowel; doing this will help bring up the moisture up to the surface, and as a result, the concrete becomes smoother.
10. Allow the Concrete to Cure
Stick closely to the manufacturer’s instructions and allow the concrete to cure.
Caution: an uneven or old floor or a floor that requires patching to resolve water damages involves some amount of leveling before a proper tile work.
FAQs
Q. 1: What kind of cement do you use for a shower pan?
Ans. The shower pan is beneath the concrete base, and it provides enough aid for the pan and ensures it has a waterproof barrier on the floor framing and subfloor. Mortar is a class of concrete that is suitable for most shower pan, and this is due to the less proportion of gravel it contains, thus making the concrete easy when creating a gentle slope.
Q. 2: How much does it cost to install a shower pan?
Ans. Custom pans are created on-site via the assistance of a professional plumber. In some cases, they are made from metal sheeting, waterproofing or concrete material, which range from $45 to $65, in addition to the material ($50+). Except for most 36 x 36” shower pan that range from $650 to $1,500, that is, for those who intend to replace pan that is existing or want to a luxury material.
Q. 3: Can you replace just the shower pan?
Ans. If you have a shower pan on your shower, a replacement on the pan is still possible, although it is not always advisable. The pan fits into the concrete, plywood or wooden floor of your shower, serves as the tub that helps to keep running water off the floor. Most times, pans are constructed on relatively shallow ground and can easily be removed using simple tools in as much as the required condition is met.
Q. 4: Can you tile over the acrylic shower pan?
Ans. If the floor is made from acrylic or standard fiberglass, then tiling it can be very daunting. In some cases, flexing can lead to crack on the tiles and grout, although showers like Tile_Redi are meant to withstand over-tiling.

Leave a Comment