Installing a toilet in a place away from sewer lines can be a real challenge. You may have to break floors and walls to install the new sewer pipes and connect them to the main sewer system of your home. Doing something like that would require a great investment of time and money. However, in the market there are several alternatives that can make things much easier.
Upflush toilets don’t need to be at a high point to work because the waste water isn’t moved by gravity as in common toilets. For this reason, they can be installed in basements or anywhere below the level of the main sewer system.
Today, we’ll explain the complete upflush toilet installation process so you don’t need to contract a plumber to get the job done. Also you’ll find a complete list of all the required tools and materials.
How Does an Upflush Toilet Work
Regular toilets take advantage of gravity to transport human waste through a 4-inch sewer pipe. To lubricate the passage of waste through the sewer system, it’s necessary a lot of water.
On the other hand, upflush toilets are powered by electric energy. After flushing an upflush toilet, a pump sucks up the mix of human waste and water. Then, the mix passes through a macerator that works like a blender, reducing the mixture to a thick liquid.
Finally, the liquid is vertically pumped through a 2-inch pipe to the sewer system of the property. Usually, the complete flushing process of an upflush toilet takes no more than 20 seconds.
Most upflush toilets for homes are designed to work only with human waste, so it isn’t recommended to throw toilet paper to the bowl because the macerator may stop working.
DIY Upflush Toilet Installation Guide

1. Tools and materials
Materials
- Upflush toilet
- Support flange
- Wax ring
- Stop valve
- Fasteners
- Mounting bolts
- Access panel
- PVC drainpipe (2-inch diameter)
- PVC vent pipe (3-inch diameter)
- Backflow device
- Liquid soap
- Rubber flange
- GFCI receptacle
- Float switch
- Sand
- Cement
- 2X6 Wooden boards
Tools
- Wrench
- Hammer
- Screwdriver
- Garden Hose
- Adjustable wrench
- Bubble level
- Spade
- Wheelbarrow
2. Verify the distance
To choose the best upflush toilet, you’ll need to know the approximate distance from the sewer pipe, and the height difference between the discharge point and the sewer pipe. With this information, you can determine the horsepower your pump will need to flush the toilet. If you don’t know how to do this, you can ask a professional for help.
Both the pump and the macerator need electric power to work. So, make sure there’s an outlet near where you intend to install your new toilet.
3. Install the base
First of all, install the 2X6-inch wooden frames on the floor that will function as supports for the base of the toilet. Then, mix sand, cement and water at the right proportions to prepare the concrete. Pour the concrete between the wooden frames and fix the base into the concrete. Then, wait at least one week for the concrete to cure.
4. Install the flange
Before putting the toilet in place, you should first install the support flange. To do this you’ll only need some fasteners and a screwdriver. At this point, verify that the toilet mounting bolts have an adequate length to reach the base.
5. Install the pumping unit
First of all, check out the user manual. Then follow the instructions to install the float switch, the discharge pipe and the pump. Once everything is properly installed do some tests to verify the performance of the pump. To do this, you can use a hose and let the water run into the toilet hole on the base.
If you notice any malfunction on the pump, contact the seller and return the product.
6. Install the discharge and vent pipes
Install the 2-inch discharge pipe and seal the joints to prevent water leaks. Then, connect the pump to the GFCI receptacle and pour water into the tank using the garden hose. The pump should start working when the water level reaches a certain level.
After that, install the rubber flange and the 3-inch vent pipe. If you have trouble inserting the vent pipe, use liquid soap to lubricate the surface.
7. Install the backflow device
Connect the free end of the discharge pipe to the backflow device. The backflow device prevents water from returning while being pumped. Then, install a 2-inch pipe to connect the free end of the backflow device with the main sewer line of the property.
8. Install access panel and toilet
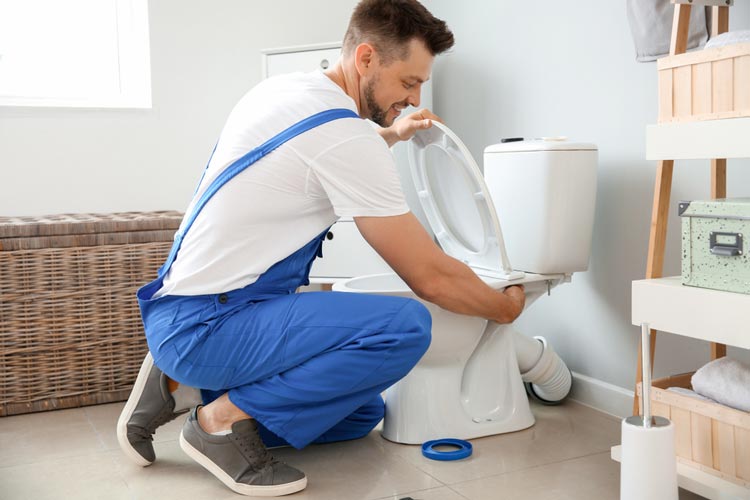
First of all, install the access panel and repair the walls and floor if needed. Then, install the wax ring on the support flange. After that, put the toilet in place and fix it to the base with the mounting bolts. Finally, install the stop valve and the water supply hose.
9. Install additional accessories
If the pump is powerful enough, the upflush unit can also be connected to a sink, tub or shower to drain water.
The water should run through the drain pipes by gravity. In the case of sinks, this isn’t a problem, considering that the drain is 16-inch above the floor. However, tubs and showers need to be raised so the drain pipe has enough slope to move the water to the upflush unit.
Pro Tips For The Installation Process
- The maximum length for extension pipes is 18 inches. Extension pipes are commonly used to hide the pump of the upflush unit behind the wall.
- If winters are too cold in your neighborhood, you should protect the discharge pipes against freezing with special insulation products.
- The pump of your upflush unit should be connected to a ground interrupter circuit to prevent damage in case of overload.
- The surface of the discharge pipe should be free of imperfections for an optimal water flow.
Conclusion
Certainly, if upflush units didn’t exist it would be too difficult to install a toilet in a basement. Although they aren’t as easy to install as regular toilets, you don’t need to be an expert to understand the complete upflush toilet installation process.
If you carefully follow the tips on this guide, you’ll no longer have to spend money on plumbers to have your own upflush unit at home.
FAQs
Q. 1: What is the average price of installing a macerating toilet?
Ans. The average price of installing an upflush toilet is $370. However, costs can be much higher depending on the complexity of the job.
Q. 2: Do upflush toilets are efficient?
Ans. Yes. Upflush toilets consume less water than regular toilets and reduce installation costs when the toilet is too far from the main sewer line. However, they require constant maintenance to continue operating.
Q. 3: Is it possible to install a toilet in a basement?
Ans. Yes. If the main sewer line runs above the basement floor level, you’ll need to install an upflush toilet. Otherwise, a regular toilet will also work.
Q. 4: Does a toilet need to be vented?
Ans. Yes. All sanitary ware such as sinks, tubs and toilets need to be vented to allow the gases inside the drain pipes to escape.


Leave a Comment