

Are you experiencing a slow drain or flowing toilet? The outcome of this can result from different issues. The good news is that you can fix up most of the problems without the assistance of a professional.
The first step toward this is to check your tank, since most times, it could be the cause of the problem. On the other hand, you can consider cleaning the rim of the toilet using some household products. In cases where the toilet has enough deposits, then you might need hydrochloric acid or muriatic.
The following procedures can show you how to fix a slow flushing toilet.
Step-By-Step Process of Fixing a Slow Flushing Toilet
Step 1: Check the Tank
Locate the problem source
A slow draining toilet can be due to a slow filling bowl, or a bowl that drains quickly. Either of these two can be a primary source of your challenge. But if you are faced with the latter option, then you are likely to have a clogged drain. If that is the case, then you will have your toilet unclog. If you are faced with a blow that fills slowly, this can result from the water level you have enclosed in your tank.
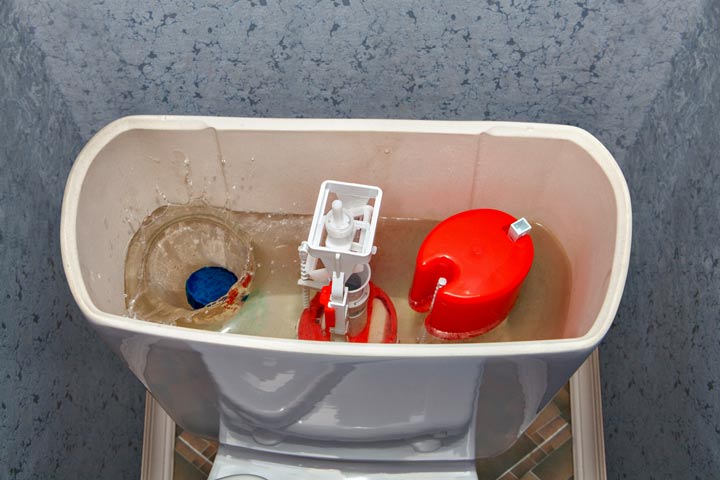
Lift the cover of the tank
The upright part of the toilet is known as the tank; it has the flush handle attached to it. At this point, you will need to put down the cover of the tank gently to the floor. Do this gradually since porcelain is most times heavy and can lead to floor damage if it’s not handled with caution.
Observe the chain that connects the flapper to your flush handle
The flapper can be made from rubber or plastic, and it’s designed and placed on the valve beneath the tank. Except you have a toilet that doesn’t flush, you should use a chain that held it to the lever trip, an arm that runs directly from your flush handle.
- Ensure the chain used is slack enough to allow the flapper positioned properly on your valve while sealing it. And very tight to raise your flapper once you use the flushing handle.
- The flapper has to be open for about two-three seconds, whenever the toilet is flushed. Failure to this will limit the amount of water entering the bowl.
Step 2: Use drain cleaner with dishwashing soap
Empty gallon(s) of warm water into your toilet
You can make use of a bucket and pour the water directly into your bowl. The warm water used will dislodge all forms of residues that are limiting and slowing down water flow from the bowl. Allow the warm water a bit without flushing it. Caution, when porcelain is heated quickly, it’s often prone to cracks. So it’s important to know the degree of warmness that won’t lead to damage.
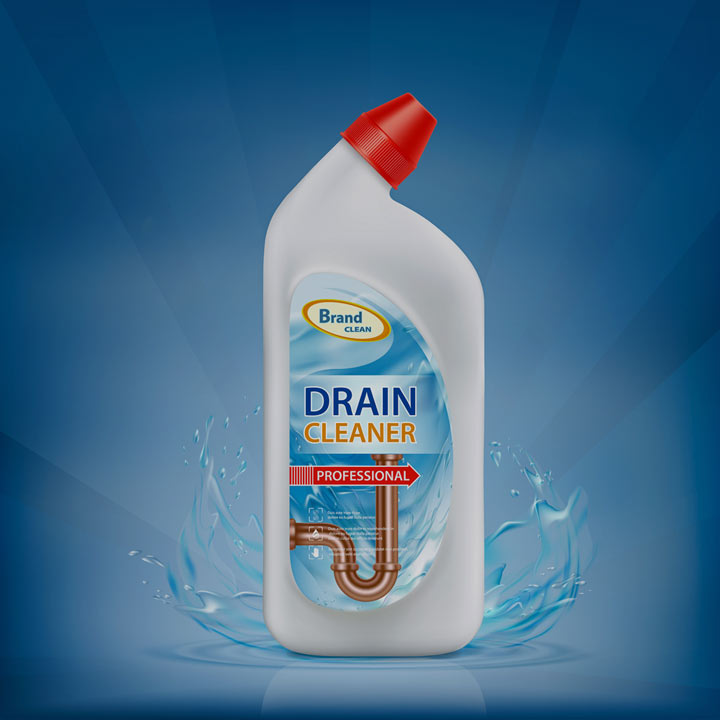
Add drain cleaners to your toilet
Ensure the drain cleaner you intend using is suitable for use in toilets. The product you intend using should have detailed instructions regarding the quantity that is allowed.
- Make sure you go through the label carefully. Some products are not recommended for ceramics and may demand the use of protective equipment.
- Adhere strictly to the instruction that is attached to the product. There are drain cleaners that should be flushed immediately. On the other hand, some cleaners need more time to work on the surface before been flushed.
Add some dishwashing liquid to your overflow pipe
Locate the right pipe in your toilet tank. You can identify it with a small tube passing through it. Use dishwashing liquid and add a little quantity to it. Like a tablespoon will go a long way.
- In place of a dishwashing liquid, you can use calcium or lime; these are often more effective.
Allow the concoction for a minimum of ten minutes
Doing this will give the mixture more time to settle down into your overflow pipe. In addition to this, the calcium will gradually dislodge from the walls of the toilet and making the entire process easy to clean.
Flush your toilet
Flushing your toilet will help send enough water across the tanks of your pipes, this water gets through all the holes underneath the rim of your toilet. Using a dishwashing liquid will help dislodge all forms of residues that are held back in your tank. Drain cleaners can help you eliminate mineral deposits clogs that are in your drain, and this will –at large, improve the flow of your toilet.
Step 3: The use of muriatic (hydrochloric acid)
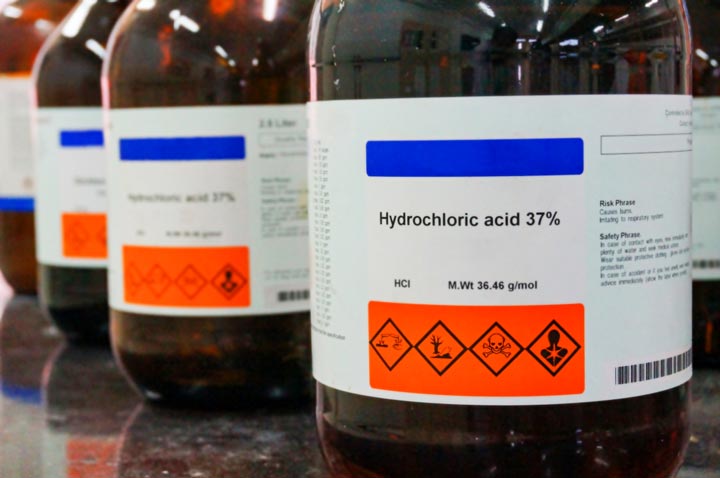
Ensure 100% safety first
Make sure you have your mask, gloves, and appropriate eye protectors. The use of rubber boots and aprons is advisable since it will help protect your body. Most muriatic acids are caustic and can lead to burns when it comes in contact with the skin.
- Ensure you have enough space for ventilation. You can place a fan in the window of your bathroom to help exhaust the air. But if you have an exhaust fan in your bathroom, it’s time to keep it running.
Off and flush the toilet
Remove the water in the bowl of your toilet using a sponge. This will allow the acid to have access and clean the entire bowl down to it bowl properly. You will need to observe the critical jet hole in your toilet once immediately at the end of each flush. A buildup at this point can lead to a slow flush.
Remove the cover of the tank and place a funnel in the overflow tube
If the overflow tube has a fill tube on it, take it off gently. Ensure that the opening to the funnel is large enough, to aid pouring, and it should fit snugly into your overflow tube.
- Avoid metal funnels since it can easily corrode when exposed to acid.
- Make sure the funnel is rinsed properly after used.
Step 4: Pure dilute muriatic acid into the funnel.
It’s advisable to use just a few ounces of muriatic acid. Pour the acid-fast enough and ensure it flows from the toilet holes directly into the bowl rim. This should be carried out with caution, to prevent the funnel from falling off.
Empty the remaining gallon directly to the bowl of your toilet. Doing this will clear off the drain.
Allow the acid for a period of twenty-four hours
If you have pets or children at home, you will need to close the doors to your bathroom.
All materials deposited in the bowl of the toilet should be dislodged.
Take the used poly film to flush the toilet after some minutes
Ensure the water is turned on. If your house has metal drain pipes, then the use of extra flush will be advisable, since a protracted contact with acid can lead to damage.
Check out your rim to observe a proper flow
Observe beneath your rim, the holes located under it. They are designed to help propel and direct water anytime you flush. Make sure the water flowing through the rim goes freely through the rim, whenever you carry out a flush. Coat hangers can be used to run the check and observe the holes if it has any form of obstruction and builds ups.
- If you observe a buildup underneath the rim, use a brush to scrub the obstruction gently.
- Repeat the process if need be.
Step 5: Chemical-Free Methods
These steps explain the use of a plunger –
Your first step at this point is to ensure your toilet is plunge using a rubber flange; this will help get a seal that is better. Drag it to and fro repeatedly, and ensure you have enough water in your bowl that will cover up the plunger. Use a towel to clean off the water that was splash out of the toilet. If the problem persists, use the following tips.
Tips to Adhere to When Using Plunging
A toilet plunger is suitable over the toilet drain. Have your rubber gloves on (most times, this can get pretty messy) and follow these steps.
- Make sure the first plunge is done gently. Most times, the bell is usually air-filled. If you thrust hardly, the air will be forced back into the seal, and water will be flashed all over you and your bathroom.
- Once the air is forced out, plunge again repeatedly –to and fro, while maintaining your seal. You will need to water each direction, and this can help loosen clogs. You will need to adhere to plunging 20 to 25 times if needful.
- Exercise patient. Try to switch between occasional and steady strokes.
- Make sure you have enough water in your toilet bowl; this will help ensure that the plunger is covered all through. If air is forced across the trap of the toilet, it won’t generate enough pressure.
Conclusion
That’s it for today. I hope this article proves to be helpful for those who are wondering about how to fix a slow flushing toilet. You see, understanding how a toilet works is crucial to pinpoint the issue. Once you have the location, following the above-mentioned procedures should help you fix your slow toilet. If the toilet is still slow, it’s time to call the professionals.
FAQs
Q. 1: How do I increase toilet flush power?
A: If you have a toilet that doesn’t flush, then it is due to one of the following reasons:
- It could be that the water level in your tank is extremely low.
- On the other hand, it could be a problem that results from the toilet flappers.
- The toilet might be clog, drain, or flange.
Q. 2: Why do I have to hold the toilet handle down?
A: Holding the flush level down without observing a change, it one of the most common problems with most flush toilets. If you have a slack chain than lifting your flapper will be a bit difficult, and this will not permit the water to run down your flush valve. Instead, it produces a low pressure that can’t flush.

Leave a Comment