
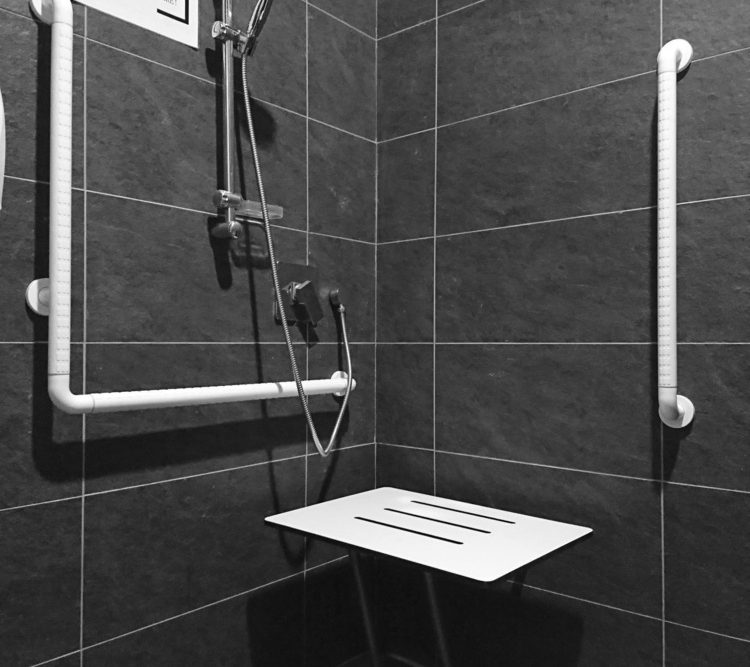
The shower bench (also known as shower chair) is one of the exceptional accessories you can consider investing in at home. The bench is used for sitting while taking a shower; it can also be used to place bathing items within your reach. The bench can also serve as an indispensable bathing accessory for the elderly and disabled family members. Although this depends on the status of the person, the bench can also be used to maintain stability and balance during a bath.
Before going further with the project, it is important to determine if the bench is to be fixed floating on the floor or anchored on the wall. Before carrying out any form of drilling or adding screws to a specific shower stall, it is imperative to ensure close contact with a professional plumber to help guide you on how to go about the process without causing any harm.
The below-mentioned steps can be used to create a perfect shower bench that will help improve your lifestyle and add more value to your home. Without any further ado, let’s learn how to build a shower seat from scratch.
How to Build a Shower Seat in 6 Steps: DIY Guide
Step 1 – Determine the Size and Shape
If you have a shower stall that has been installed, you will need to take note of the shape and size of the bench you intend to create following your shower size. Do ensure you spot out the proper location, and the height you want the mortar. If the required mortar height is 3,” and you intend to install a bench size of 18″ –you will need to create a spot that is approximately 21.”
Step 2 – Frame
When you are framing the bench, add a little slope of ½ inch on every foot, doing this will help give room for runoff water. It is essential to reduce the thickness of the plywood, especially if you’re using ¾ inch size as a benchtop. You will also need to reduce ½ inch of the backboard tile you are using. Use woods that are pressure treated and construct the work frame of your bench.
Step 3 – Make a Plywood Top
Once the bench is completely framed, you will need to attach the top directly on it. Do this with the aid of a galvanized screw; this will help you anchor the top of the plywood directly on the bench box frame.
Step 4 – Pan Liner and Moisture-Proof
Once the top of the rough bench is properly secured, install the moisture-proofing directly just underneath the bottom of the shower, similar to that of a pan shower. You will need to repeat the process for when handling the benchtop with an additional 6″ directly on the walls a bit above the bench; this will help overlap the custom shower pan correctly.
Step 5 – Backboard installation
It is important to install your backboard on; this will create enough space that will help overlap the lower pieces on the bench. To ensure all steps involved in attaching the backboard is done with a galvanized screw.
Step 6 – Seat Cover
Finally, you will need to round up the entire process by covering the whole corner of the shower bench with the aid of a skinny layer of mortar directly on your backboard. Now you will need to place whatever marble or pre-measured granite you intend to use. Mount a heavy object directly on the top of the granite or marble and ensure the adhesive used takes properly. It is essential to also allow the bench for some time to increase the drying time and durability at large. Allow it for a period of 2 – 3 days before proceeding to use it with the shower.
FAQs
Q. 1: Should the shower bench be sloped?
Ans. It is vital to slop the top of the shower bench. Make sure the slow is around 1/4″ on each foot toward directly toward the front part of the shower bench. Water needs to dry off the bench, and sliding it to an angle will be a perfect idea to make this work.
Q. 2: How do I add a bench to an existing shower?
Ans. If you intend to add a niche on a shower bench in your bathroom, you will need to check out the width, the beam, and the proper location of all the plumbing. Most times, it is pretty easy to create your niche to fit into the required space, but this is only possible if you plan ahead. Aside from a wall placement, it’s vital to consider the height.
Q. 3: How do I install a better bench?
Ans. It is important to fix the shower seat in the required estimated height and position, and this ranges between 17-19 inches above ground level. You can use a marker to map out screw locations and flange. Then, use a masonry drill and bit to get across the wall tile.
Q. 4: How deep should a shower bench be?
Ans. Following the ADA report, a shower bench can range from 15″ to 16″ since the recommended size gives more room to sit down comfortably.

Leave a Comment