
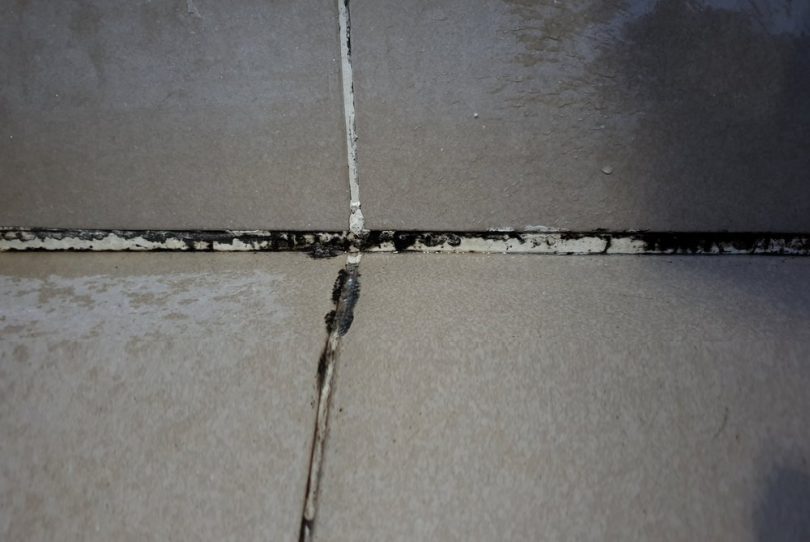
Are you experiencing black mold on your shower caulk? There is nothing worse than mold in a shower stall, and mold spores are always present wherever there is moisture. So long as they have moisture and food to endure, their numbers will continue to grow quickly.
It is important to address the issue very early in order to prevent damage to the walls and caulking of your shower. You can remove black mold and prevent its recurrence by following these steps.
What causes mold growth on shower caulk
Whenever there is prolonged moisture, mold grows. For example, a poorly ventilated bathroom will have a 60 percent relative humidity level or more. This will result in the spores present in homes attaching to shower caulking and resulting in mold growth.
Mold also feed on materials like wood, soil, cloth, and paper, these materials that are often found in bathrooms.
How to Get Rid of Mold in Shower Caulk?
Step 1: Get your supplies
- Gloves
- Mask
- Bleach
- Toilet paper
Step 2: Add ventilation
Chemicals such as bleach can burn your lungs and cause breathing problems. Ensure you work in a well-ventilated room. Open all windows and doors and put on the mask and gloves.
Step 3: Apply bleach and wait for it to dry
Pour bleach onto the caulk that has the mold over it. Place toilet paper onto the caulk. This will help to set the bleach so that it does not evaporate away. Wait 12 hours minimum but overnight is best if you don’t need to use the shower.
Step 4: Pull off the toilet paper and observe
It is important to remove the paper after the specified time has passed. Check and see if the mold is gone. If not, follow on with the vinegar.
Step 5: Now for the vinegar
The next step involves vinegar – your friend but mold’s worst enemy! Simply spray vinegar on the moldy area to get effective results. Let it sit for about two hours. Follow up with a warm water rinse.
Step 6: Remove and clean the caulk
After the mold has been there for a long time, it can be hard to remove. Not all mold can be removed. If the vinegar and bleach don’t work, you might have to move on to another fix.
Step 7: Replace or re-caulk the caulk
If you find the combination of cleaners doesn’t work, you might need to replace the caulk.
3 Alternatives to Using Bleach to Remove Mold on Caulk in Showers
1. Hydrogen Peroxide
Aside from being an antifungal, antibacterial, and antiviral solution, it removes mold quite effectively. Using a scrub brush or sponge covered with hydrogen peroxide to scrub the caulk will remove the old and bring it up sparkling.
2. Borax
For decades, Borax has been used to clean, and it can be used to treat mold. Pour one part borax into ten parts water, and apply with a spray bottle. Wash and dry the shower caulk to reveal a clean surface.
3. Baking Soda
Black fungus will be killed by baking soda, but it also absorbs moisture to help prevent regrowth. Fill a spray bottle with water, then add a quarter teaspoon of baking soda. Shake well to dissolve.
Spray the mixture onto the sealant and give it a good scrub. Rinse with clean water. This mixture can be sprayed onto the caulk every few days and allowed to dry to prevent mold buildup in the future.
Great Ideas for Preventing Mold From Forming!
-
Using a bathroom fan
The best way to prevent mold growth in a bathroom is to keep it ventilated. Circulation of dry air and removal of damp air helps to maintain a mold-free environment. It’s also good to leave the windows open while the bathroom dries.
-
Never leave wet towels in the bathroom
Mold can easily grow inside your bathroom if you hang wet towels. Black mold is formed when damp material harbors spores. The moisture in the room will be increased by a damp towel.
-
After use, dry the shower out
In order to prevent mold in shower stalls, it is important to dry them after use. By wiping away the water, the mold can’t grow because it has no food source.
-
Clean your shower weekly
The use of a spray bottle containing vinegar and water on a weekly basis can reduce mold growth as well.
-
Measure humidity
Digital thermometers with a humidity feature can be used to measure the humidity in the room. An ideal humidity level is 30 to 50%. A below 50% is too dry, and a percentage above 50%, mold will flourish.
-
Mold-resistant caulk
Sealants that are mold and mildew resistant, like silicone, are the best choice. Check the label to see if it can be used in the kitchen or bathroom. Kitchens and bathrooms have a lot of moisture.
FAQs
1. What happens if mold has grown extensively?
Ans. You may find that mold isn’t limited to a single spot in your shower. In more severe cases, a professional may be needed to help you eliminate it.
Similarly, if you have trouble controlling the amount of moisture in your bathroom, you may have to modify it.
2. Is vinegar more effective than bleach for killing mold?
Ans. When it comes to killing mold, vinegar is superior to bleach. Unless otherwise specified, bleach is not recommended as a mold-killing or mold-removal solution. Mold spores tend to persist after bleach treatment in most cases.

Leave a Comment